- By creating a new Branch, the admin will be able to handle multiple institutes within the same platform.
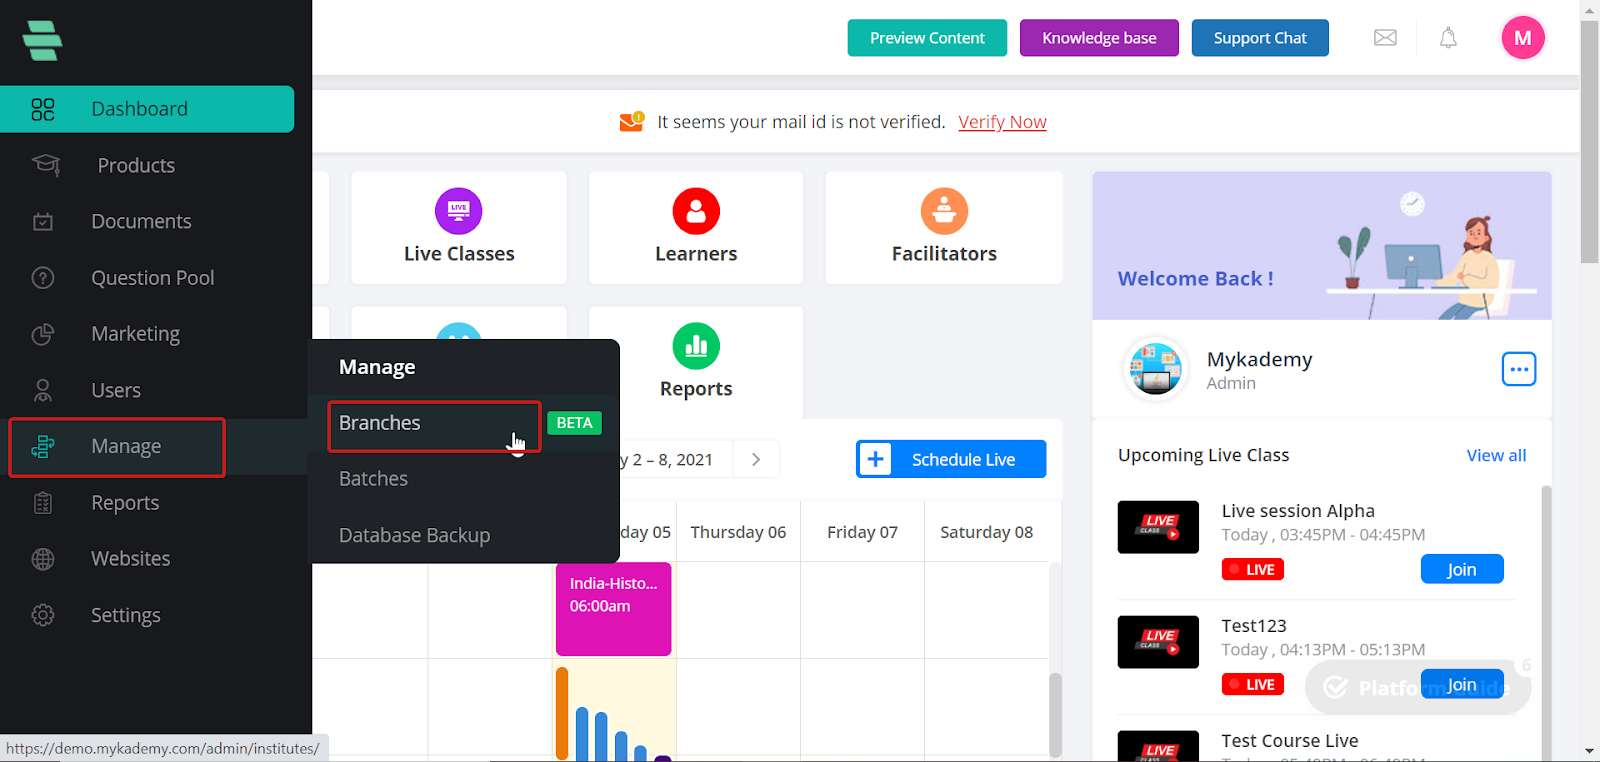
- Log in as an admin
- Click on Branches
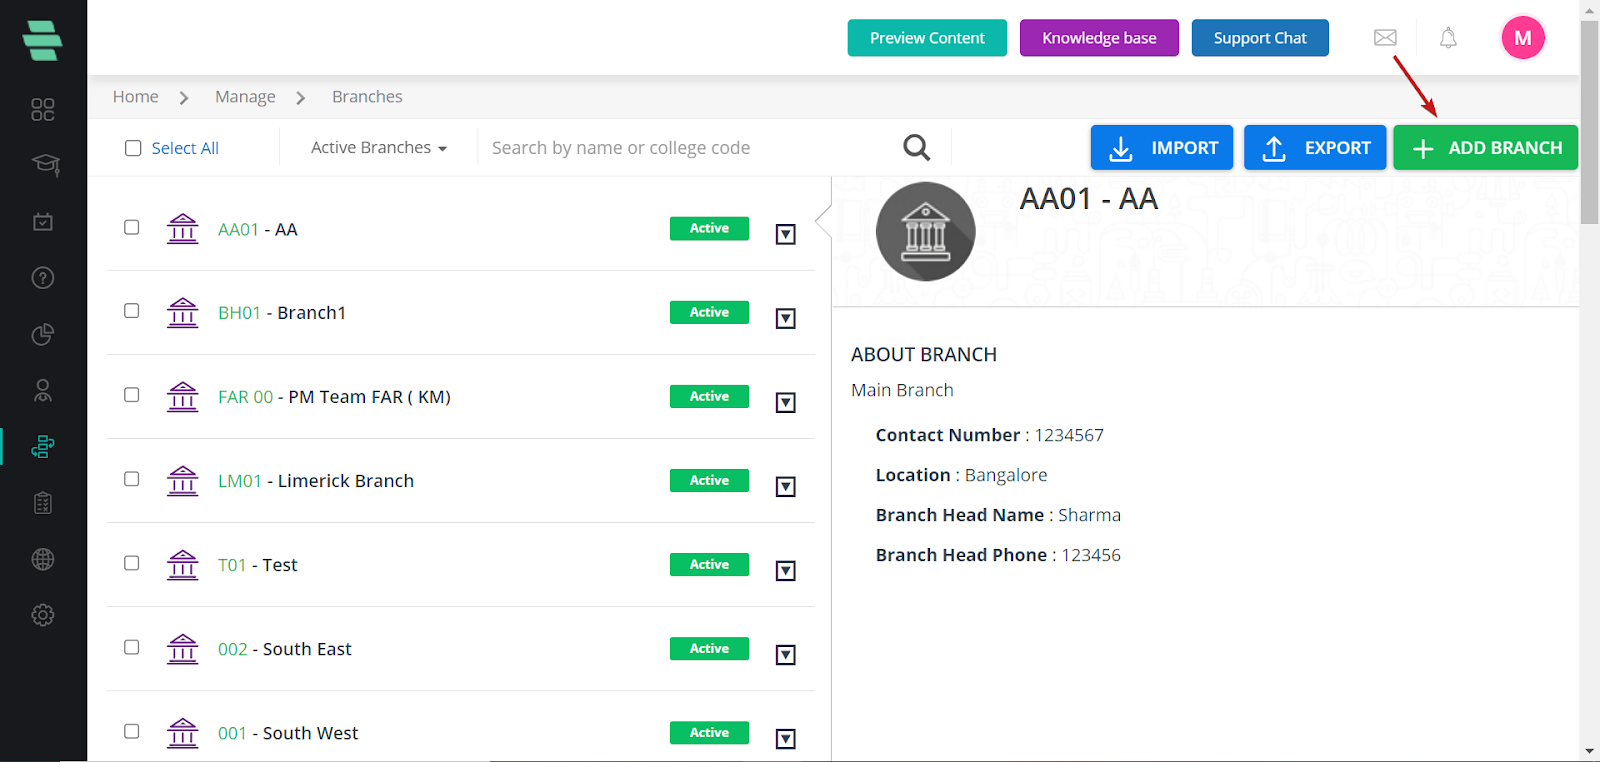
- Admin can create a new branch by clicking on Add Branch.
- Enter the Branch name, Branch code, Admin email id, and Password
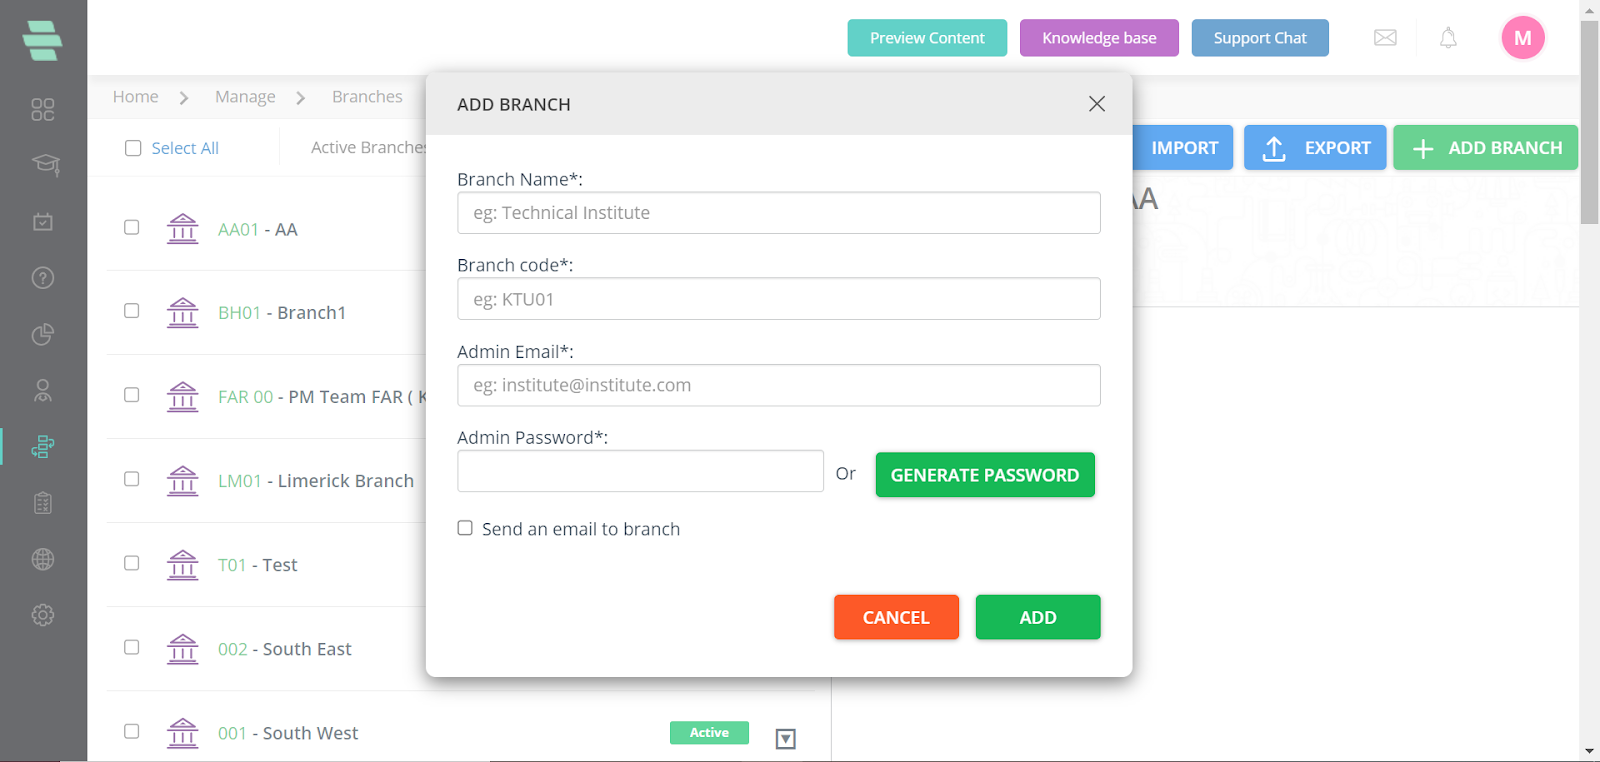
- Later the newly created branch admin can log in with these credentials.
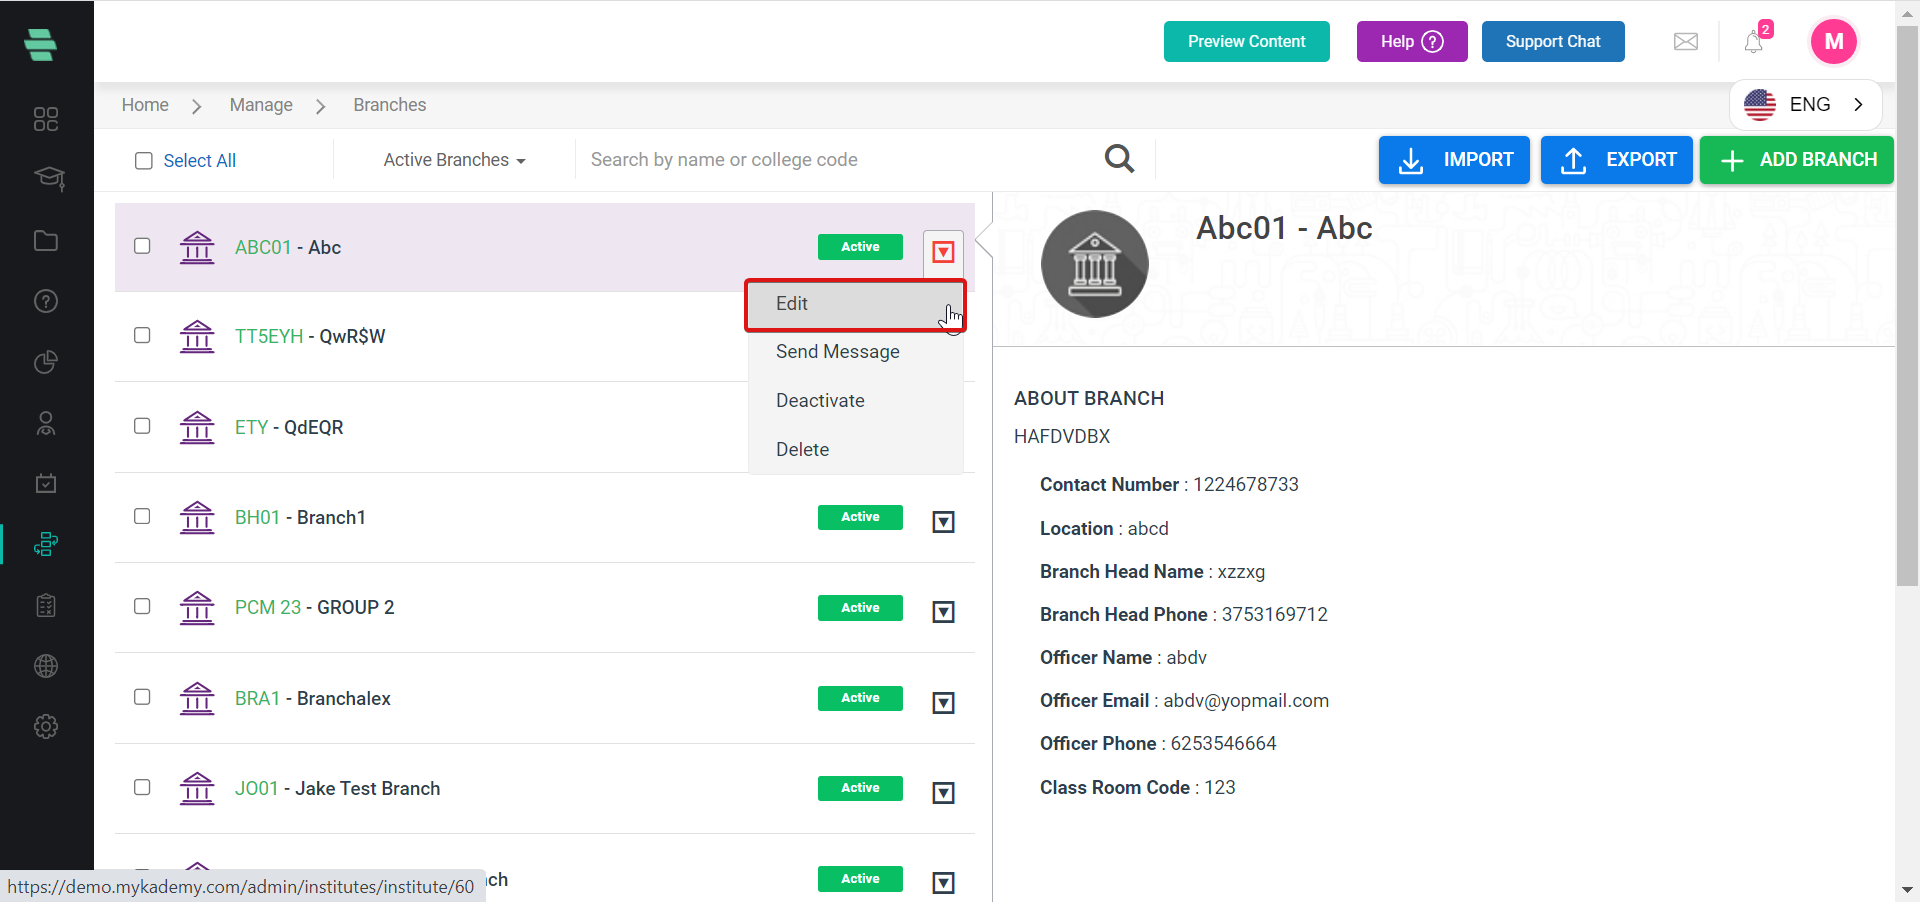
- After creating a branch click on the right drop-down box to perform various operations such as deactivate, delete, send a message or edit.
How to Edit Branch Information
- On the Manage Branch page, click on corresponding to the Branch of which you want to edit details.
- Click on Edit.
- Edit the Branch details as required and click on SAVE. The updated details reflect on the right panel.
How to Send Message to the Branch Manager
- On the Manage Branch page, click corresponding to the Branch to send a message to its manager.
- Click on Send Message. The SEND MESSAGE window pops up.

- Type a subject for the message you want to send to the manager.
- Type the message.
- Click on SEND. The message is sent to the manager successfully.
- Click on OK.
How to Deactivate the Branch
- On the Manage Branch page, click corresponding to the branch you want to deactivate.
- Click on Deactivate.
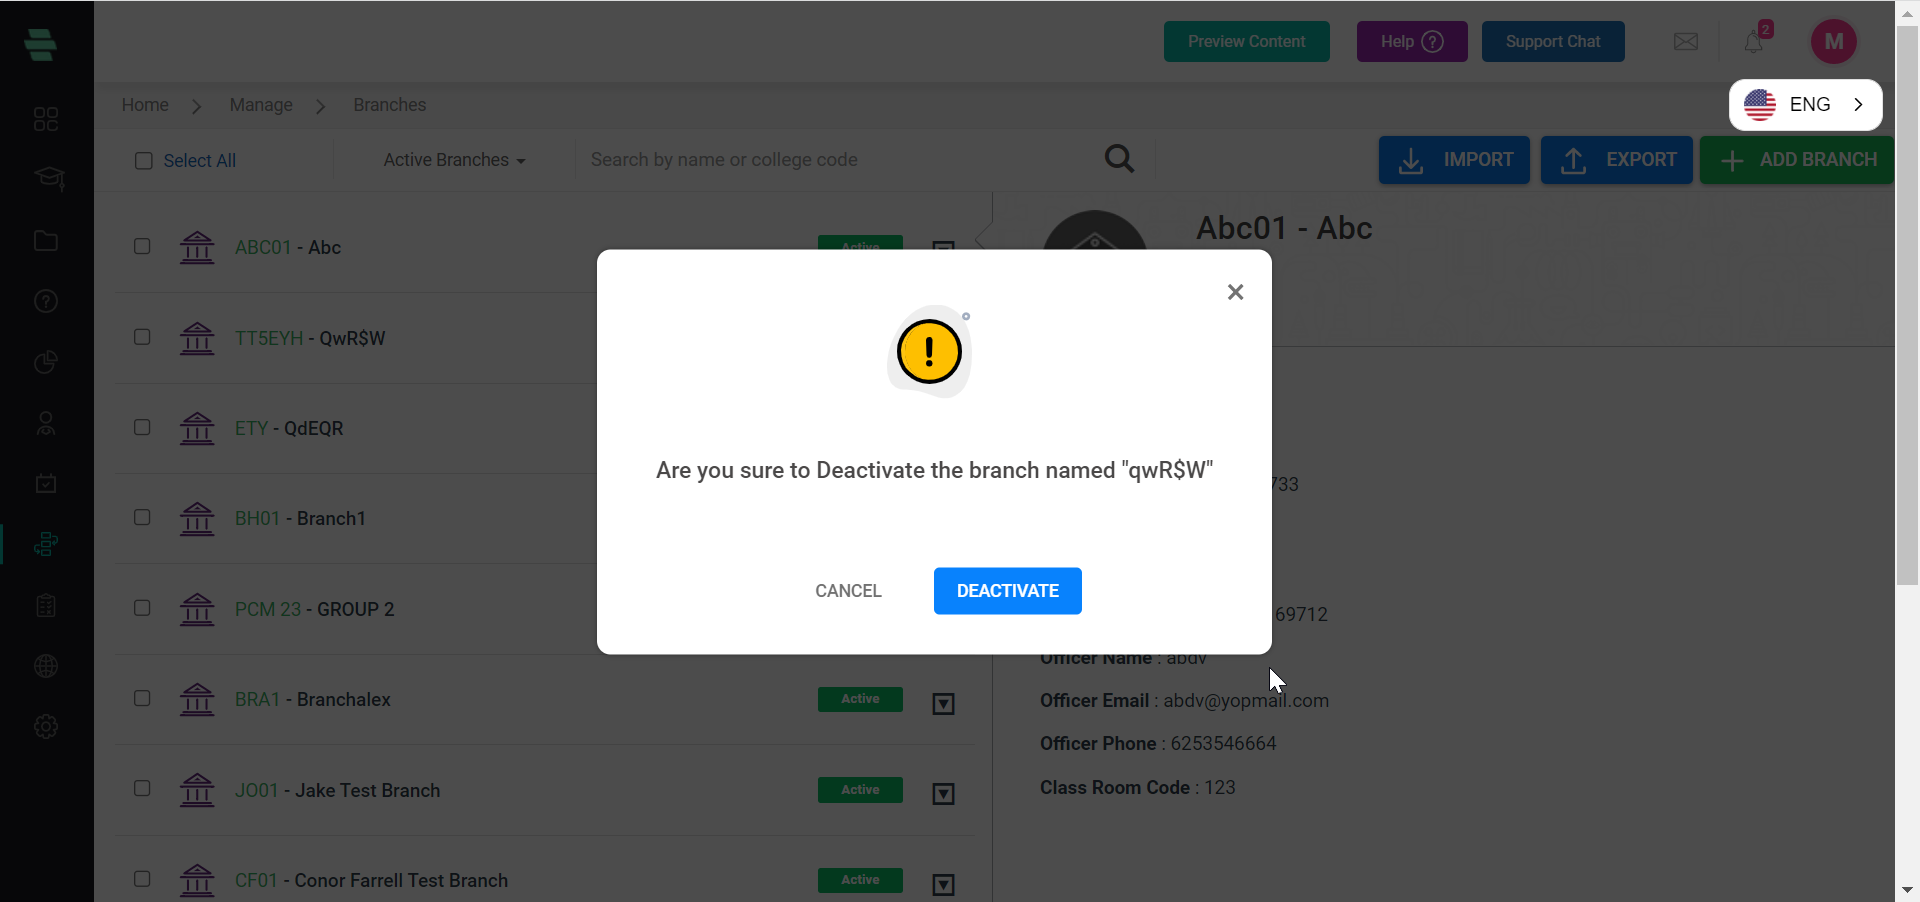
- Click on DEACTIVATE again to confirm the task.
- Click on OK.
Note: Click corresponding to this Branch if you want to activate it in the future, and click on Activate. Click on ACTIVATE again to confirm the task and click on OK.
How to Delete the Branches from the System
- On the Manage Branches page, click on corresponding to the branch you want to delete.
- Click on Delete.
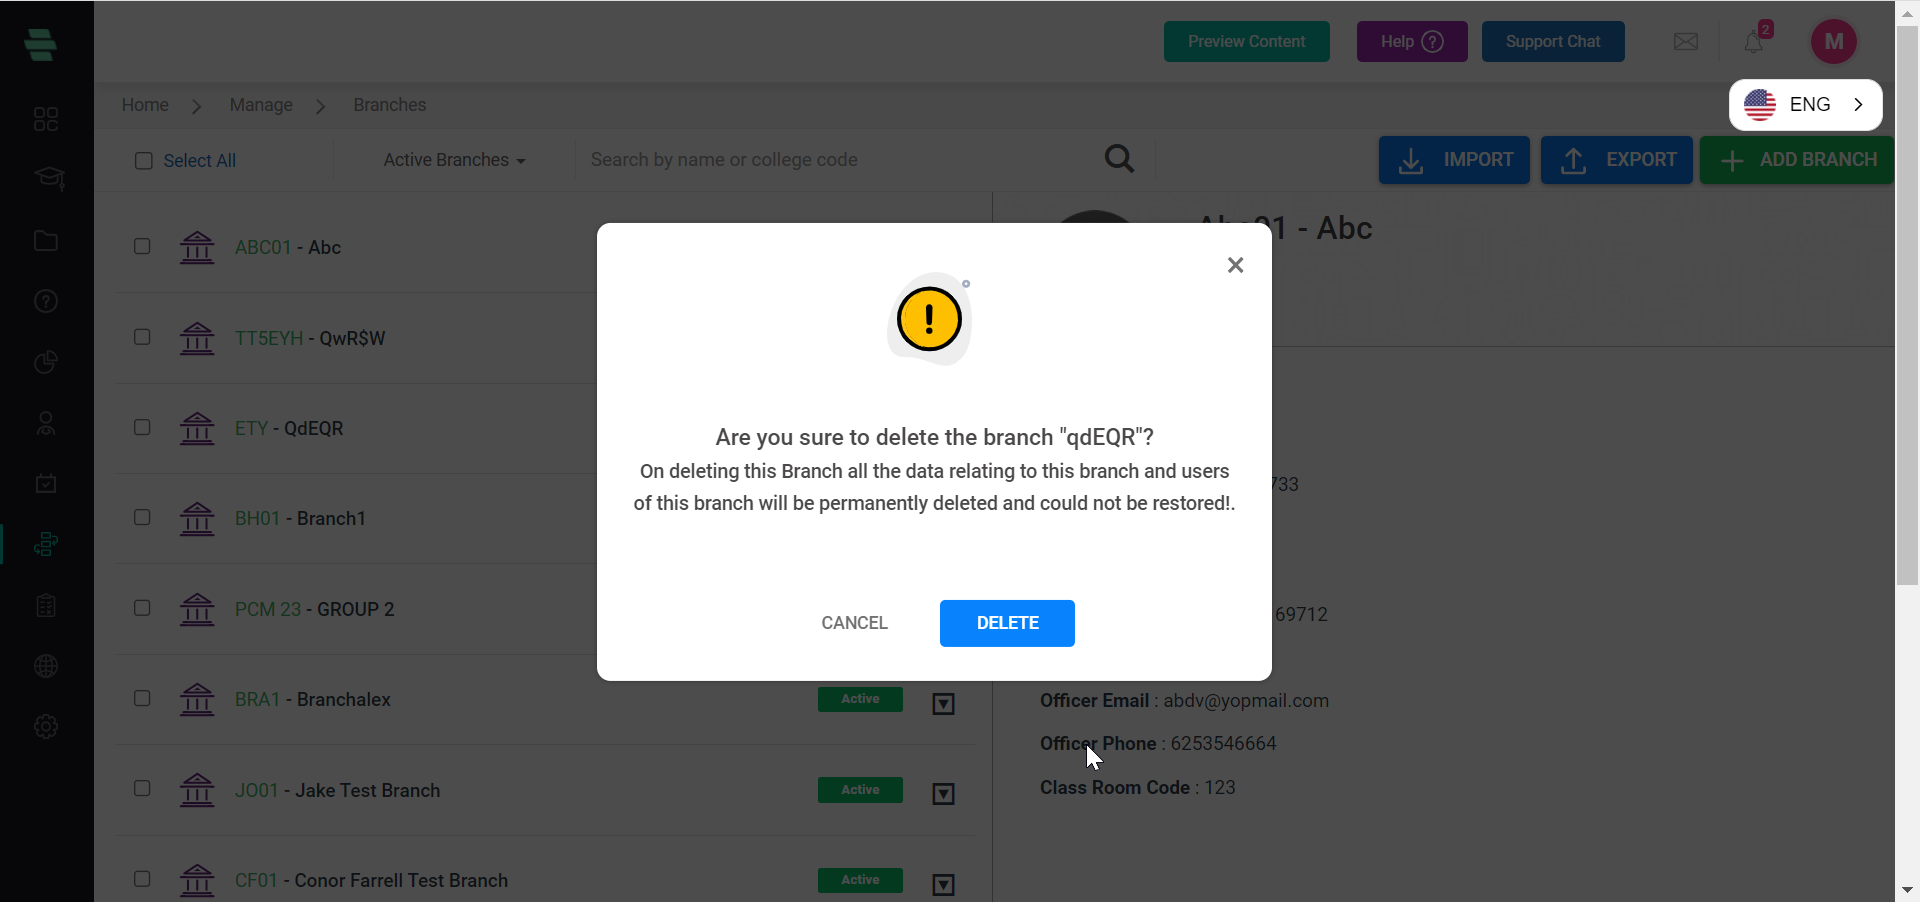
- Click on DELETE again to confirm the task.
- Click on OK.