DOMAIN MIGRATION STEPS
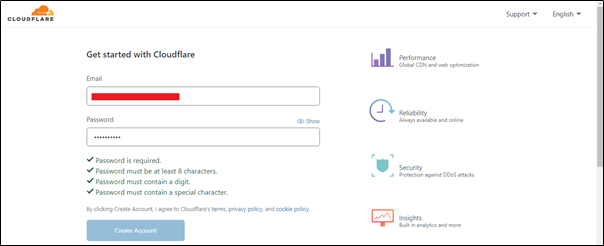
First, you have to create a Cloud flare account.
For creating Cloud flare account, Log in to https://dash.cloudflare.com/login.
Click on sign up
Give your own email id and password.
Click on create account
(Please keep the cloud flare and control panel login details safe as these login details are very important)
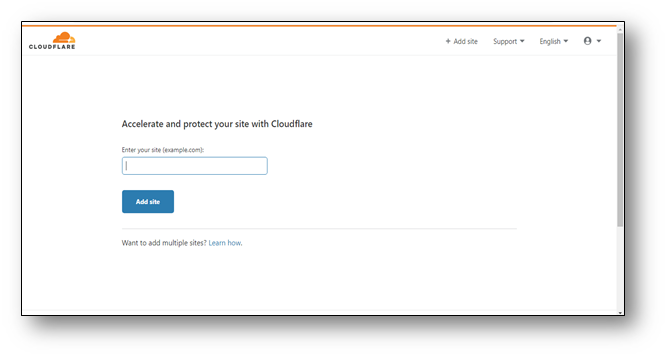
Enter your purchased domain name (eg : demo.in / test.com)
Click on add Site
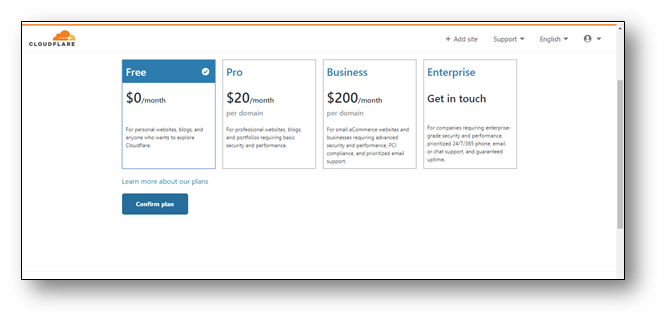
Select Free Plan
Click on confirm plan
A verification email will be received to your email ID which you have entered initially.
Just click on that mail and verify it.
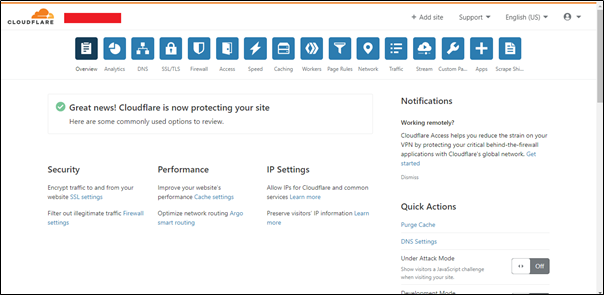
After confirming free plan, you will be redirected to DNS Record Review page
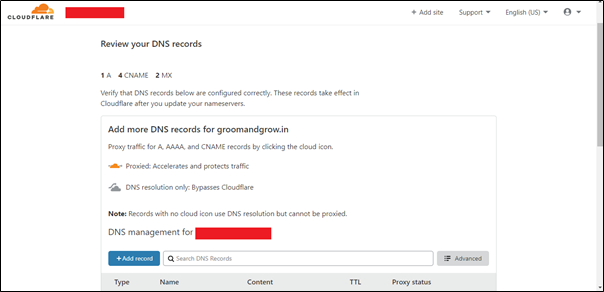
Scroll down and click on Continue.
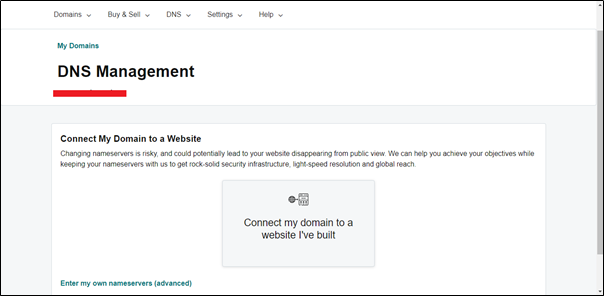
Now, Login to your Domain Control Panel (eg: GoDaddy, whois etc…)
Click on DNS
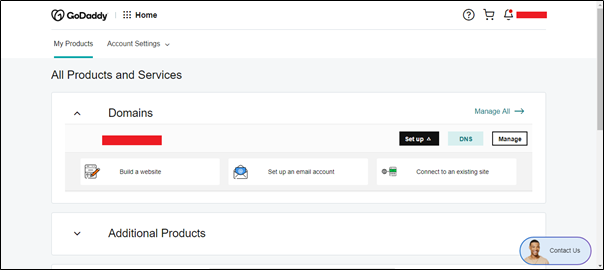
Sometimes, when you login, the control panel will be as follows.
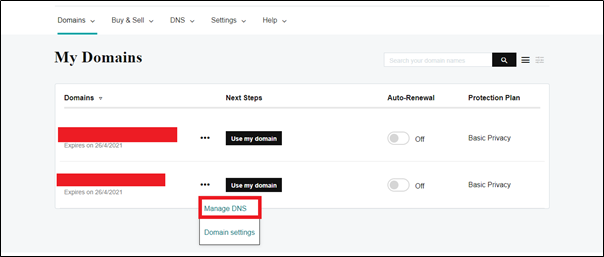
In that case, choose the domain name which you want to point.
Click on 3 dots and choose Manage DNS.
Click on Change name servers.
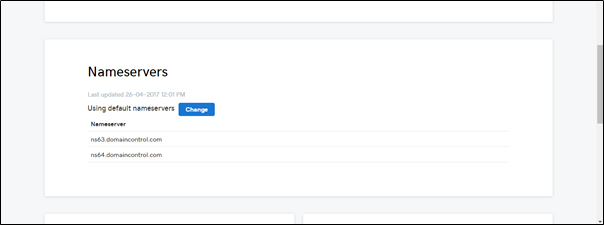
Select I will use my own name server.
Now, Go to Cloud flare and Copy the ‘name server 1’ and ‘name server 2’ from “Replace with cloud flare name servers”.
Paste those two name servers in the control panel.ie, GoDaddy.
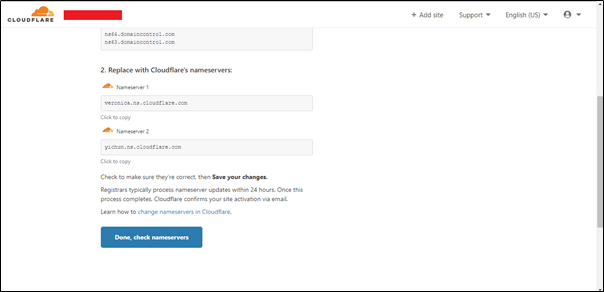
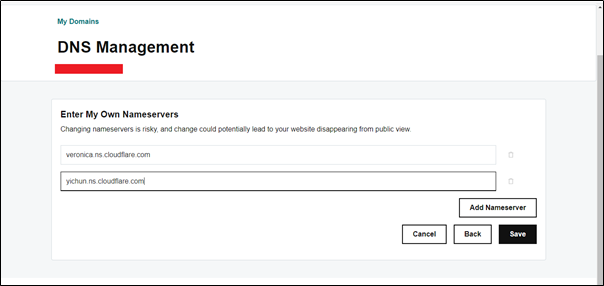
(In the above screen shots those two name servers are copied from cloud flare)
Click on Save
The control panel will now display the given below screenshot message when the cloud flare name server is pasted.

From cloud flare, Click Done, check name servers. Please wait for some time
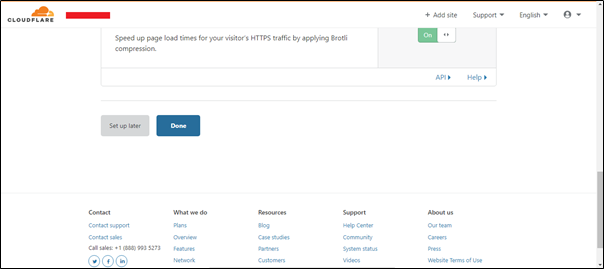
Set the SSL/TLS encryption mode as Full.
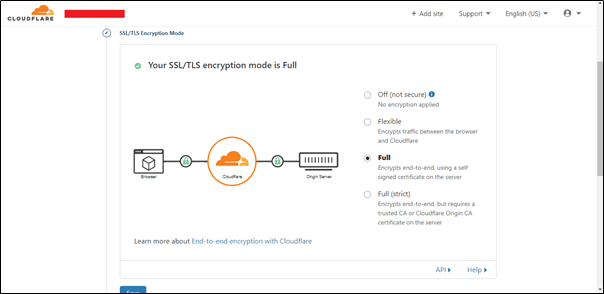
Click on Save followed by Done
Click on DNS
Select type as CNAME.
Enter Name as desired subdomain name (eg: www, online, training, e-learning etc…)
Insert Ipv4 address/ target as the trial account domain (eg: demo.enfinlabs.com, test.ofabee.com)
Leave TTL as it is.

Click on Save
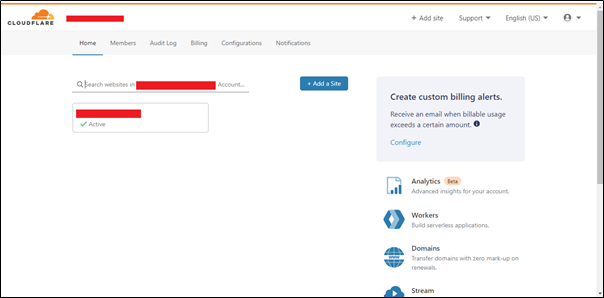
Once the save button is clicked, the domain migration will be completed and you will receive a notification as given below.

Click on cloudflare logo on the left top and if the migration is successful, the account will be shown Active.
NOTE: Once the name servers are pasted from cloud flare to Go Daddy do not ever change those name servers.
This may result in the unreachability of the site.
What if the mail is not verified?
If the verification mail from cloud flare is not verified, the status will be shown as pending name server update instead of Active

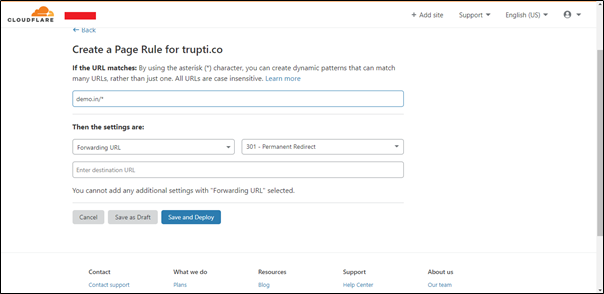
How to redirect from the existing web site to Mykademy platform
Imagine you have an existing website and you don’t need the website domain any more so that you are planning to use that particular domain to redirect the user to the Ofabee platform, then the given below instructions can be followed.
Click on Page Rule.
Select create a page rule
Enter the purchased domain name in the first box along with /*
For example, demo.in/*
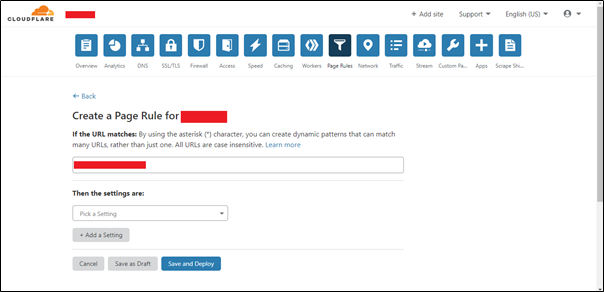
From Pick a setting, select forwarding URL
301-Permanent redirect.
In the destination URL, enter the desired subdomain URL along with /$1.
For example, http://www.demo.in/$1
Click on Save and Deploy