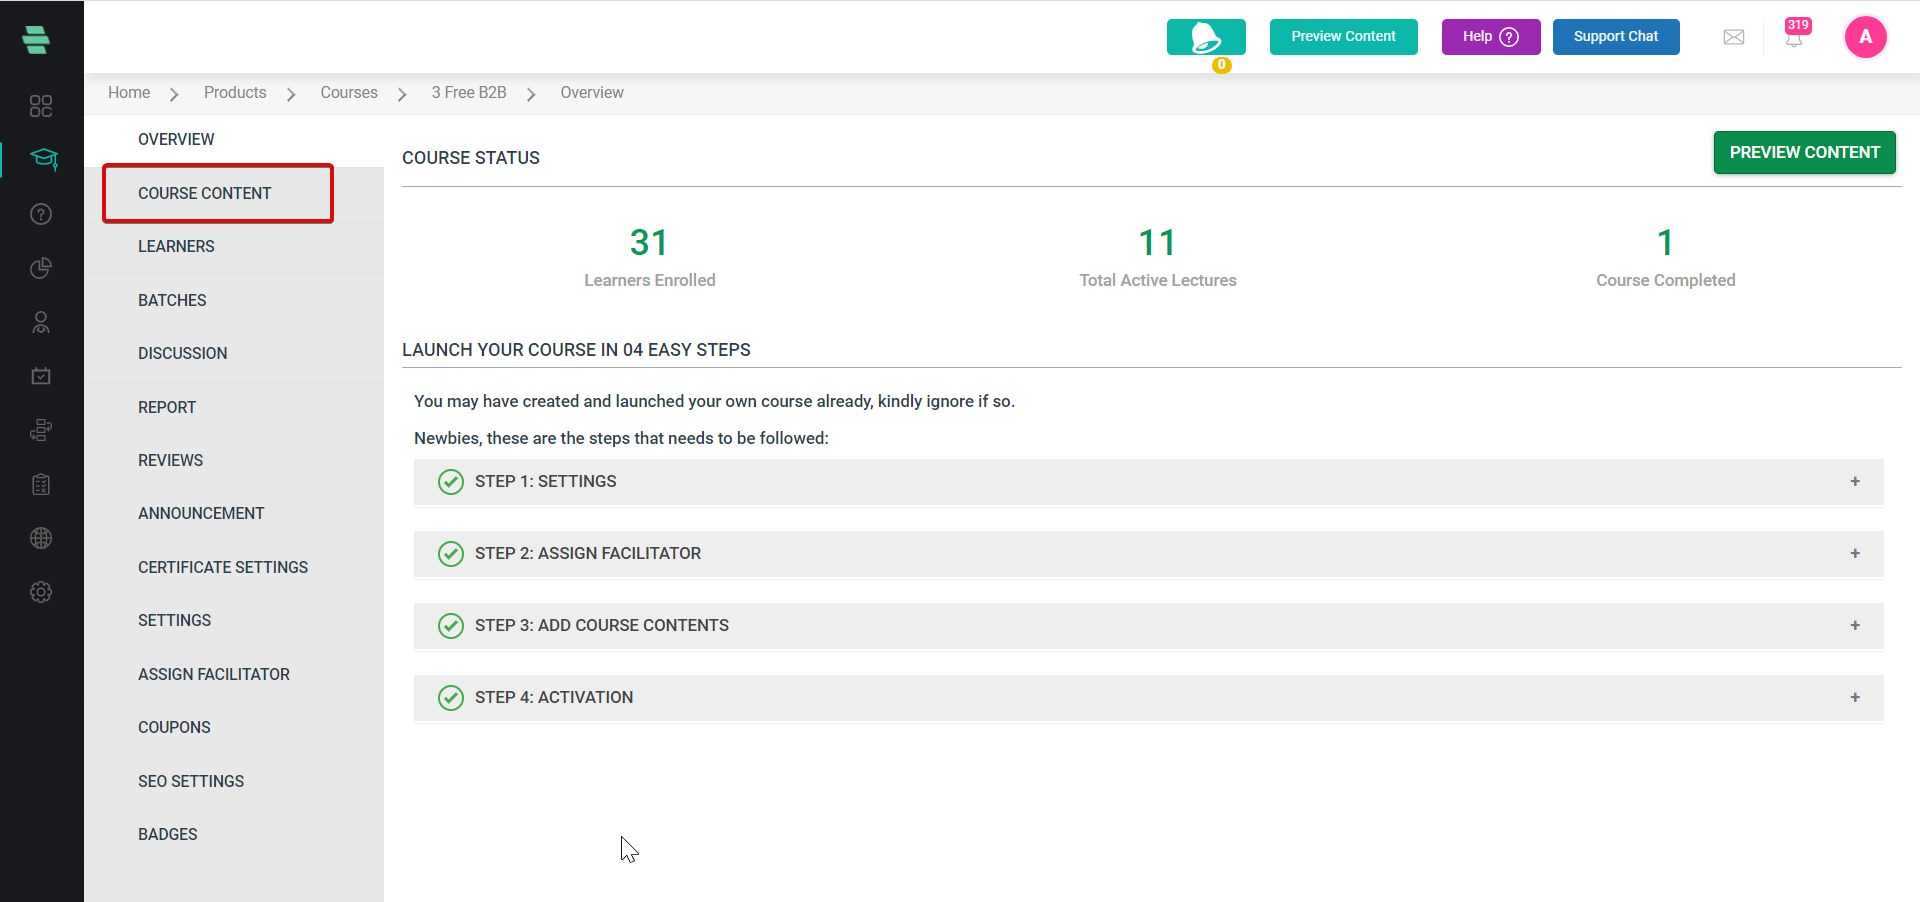
Various contents can be added to a course with the help of the course content page. From the dashboard select the desired course and click on Course content.
By clicking on the course content page, you will be taken to a page where you have many options to add the lectures.
A section must be created first in order to add the lectures.
Each section can have multiple sub-topics inside them known as lectures. Lectures can be uploaded in the form of files. Recommended file formats are .mp4, .mp3, .doc, .docx, .pptx, .pdf, .xlsx, and scorm package (.zip)

- On the COURSE CONTENT page, click CHOOSE A FILE in the right panel.
- Select a file of the recommended file format from your local system and click Open. The UPLOAD LECTURE window pops up.
- Enter a title for the lecture. Choose the section in which you want to place the lecture.
Note: You can add a new section on this page and then choose it to place the lecture. - Enter a brief description of the lecture. This step is optional.
- Click UPLOAD. The file is uploaded and the contents of the file appear on the left pane. The basic settings and access restriction options appear on the right pane.
- Edit the basic settings and access restriction options as required and click SAVE.
- To add more files to the section, click BACK to go back to the Course Content page.
Note: Repeat this procedure to upload all supported file formats to the sections.