How to Configure Basic Settings for the Course
- Click Settings in the left menu. The Settings page appears with the Course Name appearing, by default.

- Click the Course Card Image to upload a new image for your course.
- Specify the following basic details for the course:
- Course Category – From the drop-down menu, choose the category for your course that you created as an outline.
- Course Language – Choose the language in which the course is delivered. International languages are available in the course language section.
- Course Description – Give a detailed description of your course. You can use the available tools in the text box for presenting information in a more organized manner.

- Course Access Validity – Choose one of the options to set the validity time for the course until which the Learners have access to the course:
- Unlimited: Choosing this option makes the course accessible for an unlimited number of days.
- Limited By Days: Choosing this option allows you to limit the course to a specific number of days.
- Limited By Date: Choosing this option allows you to limit the course until a particular date.
- Learners Self Enrollment to Course – Choose the Disabled or Enabled option to disable or allow Learners to enroll in the course by themselves respectively. If you select Enable, you can set a due date for self-enrollment.
- Course Preview – Choose the Disabled or Enabled option to disable or allow Learners to get the preview of the course before enrolling. If you select Enable, you can set a time (in minutes) until which the Learners can watch the preview.
- Sequential Access - Choose the Disabled or Enabled option to disable or allow Learners to get the course contents sequentially. If you select Enable, the learner cannot access the next lecture without completing the previous one. Note: Sequential flow will work along with the other lecture rule settings

- Price and discount price: Set the course price in the price column and if the admin decides to give the discount, the discounted price ( final price) can be entered in the discount price column.
- Display the free course label on your website: This button is displayed if the course is a paid course. Unticking this checkbox hides the free course label on the learner's side.

- Display course price on your website: This button is displayed if the course is a paid course. Unticking this checkbox hides the course price on the learner's side.
- App Store Price: This allows the admin to select the price tier for individual courses, which can be used in the iOS App.

- Note: Fields with an asterisk (*) symbols are mandatory
- Click Save.
Note: If you are well aware of the next step, you can click Save & Next and click OK to directly move to the next step of assigning Facilitators for your course.
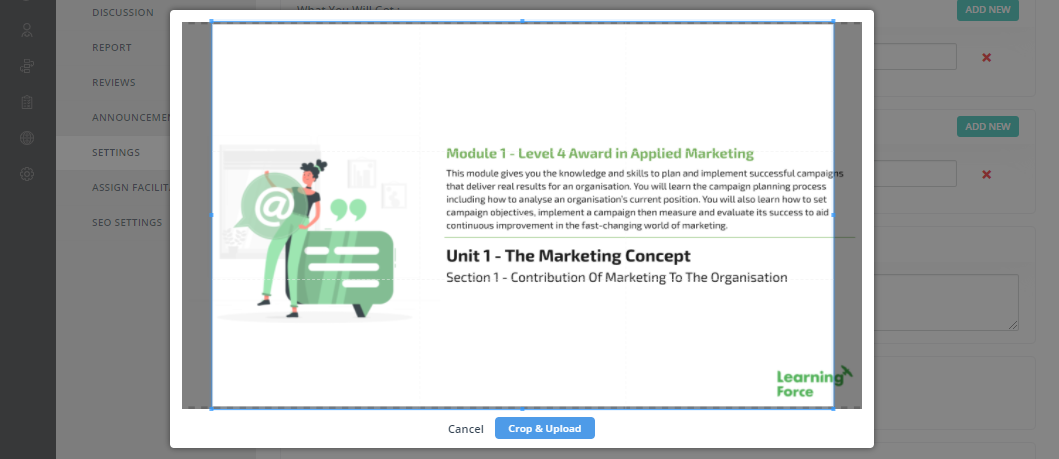
How to Crop an Image
The option to crop images will be available to admins and so there are no size-related restrictions anymore. Once, an image is uploaded an admin can crop the image to the desired size and save it. In this scenario, course images can be cropped and uploaded into the platform.